Haha, soon you’ll be working on that one! 
Alright, so your main issues are obviously how the Multitag/Select field values are inserted into / loaded from the table and how they’re displayed.
The important thing to configure here, is the transforming of the values when inserting / loading the data.
I quickly made an example app for you. On the first page I use the table—form setup like you, on the second page the same thing is done with just a table.
(Can’t directly share it here)
EDIT: Short guide to make the example app work
I mistakenly thought the sample DBs would also be exported, so the app won’t work if you just import it. Follow the steps bellow to make it work, don’t worry, it’s very fast.
-
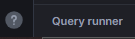
Go to the Data sources tab and click the Query runner button at the bottom left:
-
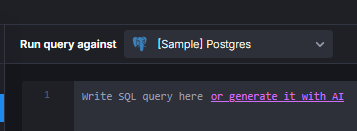
A panel where you can write queries should’ve opened. Now, select [Sample] Postgres in the select input labeled Run query against on the top of the panel:
-
Paste the query below into the text area and press either Ctrl+Enter or the blue Run Query button on the right to run the query.
CREATE TABLE
    dogs (
        dog_id serial primary key,
        dog_name varchar(20) NOT NULL,
        dog_age int NOT NULL,
        dog_fav_caretaker varchar(100) default NULL
    )
-
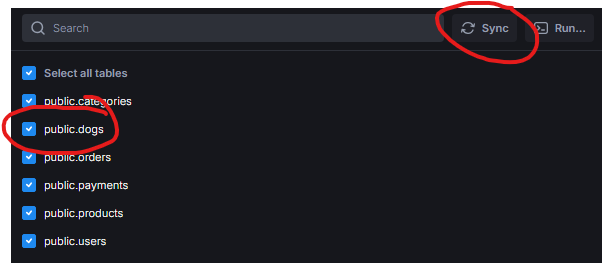
Finally, click on the Sync button in the panel where the tables are listed (of course the [Sample] postgres DB must be selected in the list) and you should see the dogs table appear. The app should work now 
If something about the setup of the Multitag/Select isn’t clear, check the following “guide”. It roughly shows the setup specifically of that field type in the way you want it.
Or you can just ask here if something’s not mentioned or unclear 
Guide
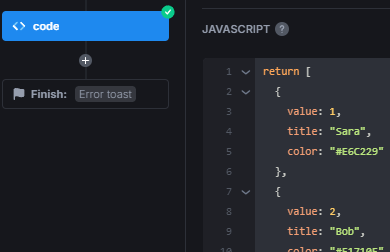
First and foremost, you have to configure the field in the table & form. Since there are multiple components having the same field type, it’s far more efficient and future-proof to create an action that yields the data for the Options setting in the Multitag/Select field.
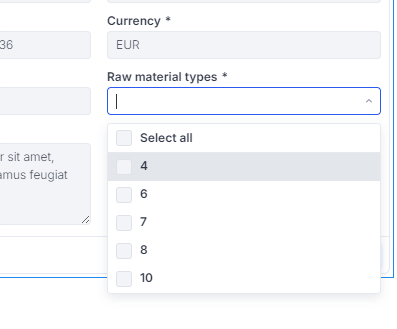
An option can have 3 properties: value, title and color. The only thing that is required is the value. If you provide a title, then it will always display the title, but in the actions you’ll always get the value.
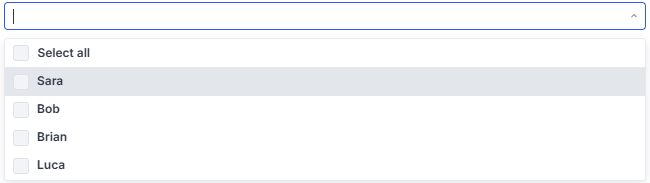
Now you can simply pass the data of this action to the field setting Options in the table and the form
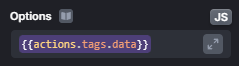
(If you can’t write in this field, press the small JS icon on the right)
Then the select will display the names
Now add a trigger for either On Submit or On Custom Button Click to the form, where we pass {{value}} as Action Arguments, which refers to the value of the form, i.e., the values in the inputs/selects/etc.
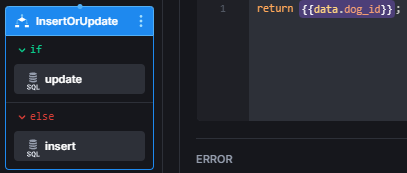
In the action that is triggered, you first want to determine whether these values should be inserted as a new row, or if a row should be updated. To determine that, all we need is a Condition step where just check if the primary key is set. If one is set, it indicates that a row in the table is selected and the form contains the data of that entry. If it’s not set, then we know it’s a new entry.
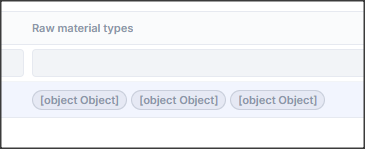
And then just insert or update the data. But don’t forget to transform the values of the selected tags, which is as straightforward as {{data.field_name?.join(", ")}}. The ?. optional chaining operator is important because if nothing is selected, the value is not an empty array [], but undefined.
The last thing to do, is transforming the data back to an array when loading the table. Presumably, most people will have a Load Table step / action, so just toggle the Transform result option and split the joined string into the separate values: